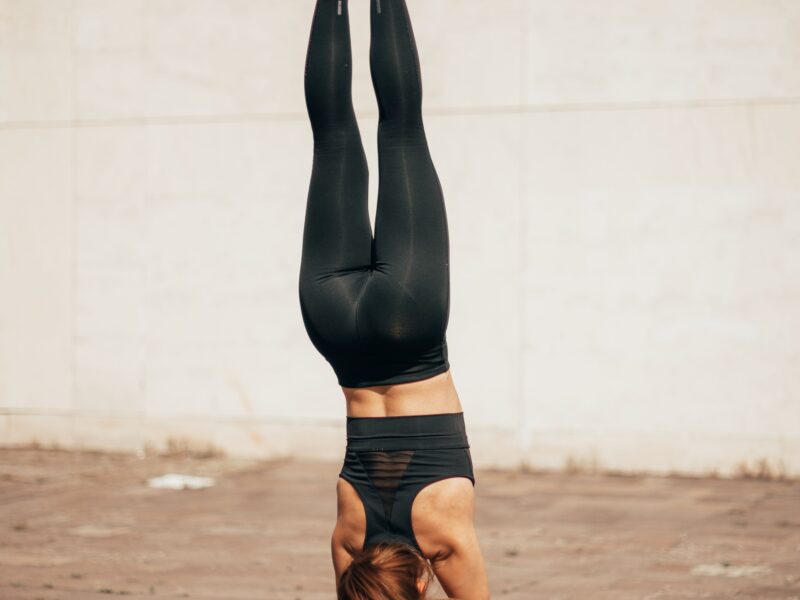
Intense Side Stretch Pose is done with the hands on the floor.

(parsh-voh-tahn-AHS-anna)
parsva = side, flank
ut = intense
tan = to stretch or extend (compare the Latin verb tendere, “to stretch or extend”)
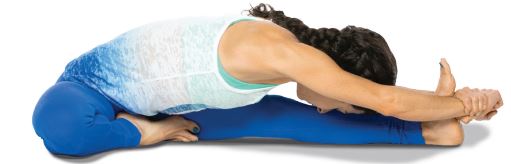
Intense Side Stretch Pose: Step-by-Step Instructions
Step 1
Stand in Tadasana. With an exhalation, step or lightly jump your feet 3½ to 4 feet apart. Rest your hands on your hips. Turn your left foot in 45 to 60 degrees to the right and your right foot out to the right 90 degrees. Align the right heel with the left heel. Firm your thighs and turn your right thigh outward, so that the center of the right knee cap is in line with the center of the right ankle.
Step 2
Exhale and rotate your torso to the right, squaring the front of your pelvis as much as possible with the front edge of your mat. As the left hip point turns forward, press the head of the left femur back to ground the back heel. Press your outer thighs inward, as if squeezing a block between your thighs. Firm your scapulas against your back torso, lengthen your coccyx toward the floor, and arch your upper torso back slightly.
With another exhalation, lean the torso forward from the groins over the right leg. Stop when the torso is parallel to the floor. Press your fingertips to the floor on either side of the right foot. If it isn’t possible for you to touch the floor, support your hands on a pair of blocks or the seat of a folding chair. Press the thighs back and lengthen the torso forward, lifting through the top of the sternum.
Step 4
In this pose the front-leg hip tends to lift up toward the shoulder and swing out to the side, which shortens the front-leg side. Be sure to soften the front-leg hip toward the earth and away from the same-side shoulder while you continue squeezing the outer thighs. Press the base of the big toe and the inner heel of the front foot firmly into the floor, then lift the inner groin of the front leg deep into the pelvis.
Step 5
Hold your torso and head parallel to the floor for a few breaths. Then, if you have the flexibility, bring the front torso closer to the top of the thigh, but don’t round forward from the waist to do this. Eventually the long front torso will rest down on the thigh. Hold your maximum position for 15 to 30 seconds, then come up with an inhalation by pressing actively through the back heel and dragging the coccyx first down and then into the pelvis. Then go to the left side.
Pose Information
Sanskrit Name
Parsvottanasana
Pose Level
1
Contraindications and Cautions
If you have a back injury or high blood pressure, avoid the full forward bend; instead do Ardha Parsvottanasana (pronounced are-dah = half). Perform steps 1 and 2 as described above, a couple of feet from and facing a wall. With an exhalation lower your torso parallel to the floor and reach your hands out to the wall. Press your palms actively into the wall (preferably with your elbows fully extended), keeping your front torso longer than your back.
Deepen the Pose
There are really two ways to position the torso over the front thigh in this pose. Beginners should align the midline of the torso over the inner side of the front thigh. Advanced students should rotate the torso and bring its midline down over the midline of the front thigh.
Theraputic Applications
- Flat feet
Benefits
- Calms the brain
- Stretches the spine, shoulders and wrists (in the full pose), hips, and hamstrings
- Strengthens the legs
- Stimulates the abdominal organs
- Improves posture and sense of balance
- Improves digestion