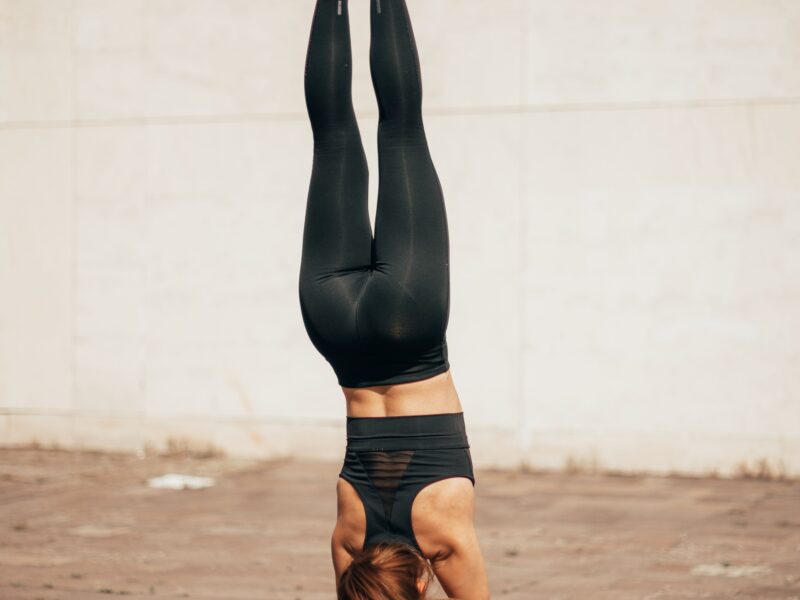
Utkatasana
Benefits
Strengthens the muscles in your thighs and feet; increases ankle mobility; tones your core muscles.
Instruction
1) Stand with your feet together, hands on your hips. To create the stable platform needed for this deep squat, find the center of balance in each foot. Play with shifting your weight between the inner and outer edge of each foot as well as between the ball and heel, until you find the sweet spot. You’ll know you’ve found it when you feel a “tripod effect”—a sense of equal pressure between the bases of the big and little toes and your heel. Keep your weight evenly distributed between each leg.
2) Exhale as you bend your knees, sending your buttocks behind you as you sit on an imaginary chair. When you can no longer maintain the tripod effect in your feet, stop bending your knees. Engage your legs and hips by gently pressing
the legs toward each other and hugging the hips toward your midline.
3)Raise your arms overhead, with your palms facing each other. If your low back starts to over arch (you’ll feel a sensation of pinching or compression), draw your low ribs toward your hip points until you feel your pelvis level out. Just don’t overdo it—you don’t want to over correct to the point that the top of your pelvis tilts backward. Finally, create a sense of space equally across the front and back body by spreading your upper back, externally rotating the shoulders, and widening across the chest. Stay for 5 to 10 breaths.
4)To exit the posture, push firmly through your feet to extend your legs, and then release your arms down by your sides.
Modify Utkatasana if needed to find safe alignment for your body
If your ankles feel tight … TRY placing a rolled-up mat under your heels. This will reduce the amount of ankle dorsiflexion (in which your feet reach toward your shin) needed and will allow you to find more ease in the posture. Start by tightly rolling up about half the length of your mat (less if your mat is really thick; more if it’s thin). Place your feet together, with your heels atop the roll and the balls of your feet on the floor. Spread your toes to widen the base of support
If you have shoulder pain …
TRY keeping your hands at your heart as you come into the pose. Press your hands firmly together as you widen evenly across your chest and back. You can work your shoulders by maintaining this pressure in your hands while gradually lifting them up toward the ceiling, with palms still pressed together. Stop at the point of discomfort. This is also a great modification if you have a tendency to round through your low back.
If you have knee pain …
TRY performing the pose against a wall. Most of our joints allow for rotation, gliding, or both. The goal with managing knee pain is to mitigate the amount of excess rotation (torque) and glide (sheer). When you use the wall to support your body weight and limit knee flexion (bending), you reduce both torque and sheer at the knee joint. Start with your feet hip-distance apart and your back about one foot from the wall. Hinge at your hips until your buttocks touch the wall, and then release your back to the wall. Slide down to your level of comfort, but don’t bend your knees past 90 degrees. Keep the knees directly above your ankles. Your hands can be overhead, on your hips, or at your heart.
Take a load off
Each of your arms is equal in length to about 35 percent of your height, while both arms combined account for approximately 10 percent of your weight. When you bend forward with your arms raised overhead, you both lengthen and redistribute the weight of your upper body. This increases the load that the muscles of your back, hips, and hamstrings must support and overcome. The hamstrings are hip extensors as well as knee flexors. When you tilt forward excessively, you over-elongate the already taxed hip extensors and compromise their ability to contract optimally. This leaves the spinal muscles to pick up the slack. So be kind to your spine and take a load off: Instead of leaning forward aggressively, aim to keep your torso mostly upright and your arms lifted toward the sky, or your hands pressed together at heart center.
Stretch your legs and hips, strengthen your core and upper back, and improve your balance in these prep poses for Garudasana.
Gomukhasana, with Garudasana arms Cow Face Pose, with Eagle Pose arms
Benefits
Stretches the sides of the hips and upper back.
 Instruction
Come to Tabletop, with your hands under your shoulders, knees under your hips, and tops of your feet against the mat. Slide your right knee left until both knees’ inner edges touch (both are still on the ground). Wrap your left leg around and atop your right leg so your knees line up; slide your feet away from each other, slightly wider than your hips. If your inner thighs protrude forward, use your hands to rotate them behind you. Gradually lower your hips to the floor, to seated, with hips between legs. You can place a prop under your buttocks to support your hips. Bring your arms in front of you, bent to 90 degrees. Swing your left arm beneath the right, and spiral your right hand and forearm around the left until your hands touch in Eagle Pose arms. Hold for 10 breaths; switch sides.
Move step by step into Garudasana with strength and balance.
Benefits
Improves balance; strengthens your inner thighs and ankles; stretches your calves and upper back.
Instructions
1) Stand in Tadasana (Mountain Pose), with your hands on your hips. Lift and spread the toes on your right foot while grounding down through its ball and heel; press the toes down to create a solid foundation. Bend your knees and sit your hips back slightly.
Benefits Improves balance; strengthens your inner thighs and ankles; stretches your calves and upper back.
 Spinal Balance

Benefits
Improves core strength and balance; enhances proprioception (awareness of the body’s position in space).
Instruction
From Tabletop, stiffen your core as if putting on an imaginary corset. This results in front-to-back and side-to-side tightening. Raise your right arm parallel to the floor and in line with your shoulder, palm facing left. Lift your left leg until it’s in line with your hip and parallel to the floor. Hug the lifted limbs toward each other without actually moving them—making an isometric contraction—to enhance core engagement. Hold for 5 breaths; switch sides. Repeat 3 times on each side.
Prasarita Padottanasana Wide-Legged Standing Forward Bend, with twist

Benefits
Stretches and strengthens the inner and outer legs and mid-back.
Instruction
Take a wide stance with your feet parallel, approximately 3 to 4 feet apart. Ground equally through the inner and outer edges of your feet. With your hands on your hips, inhale to lengthen the spine; exhale as you hinge forward. Release your hands to the floor. Create stability by isometrically drawing your legs toward each other and pressing down from the outer hips through the outer feet. With your left hand, grab your right outer shin and pull it to your left, stretching and strengthening shoulder and back muscles. Stay for 5 breaths; switch sides.

2 )Lift your left leg and cross it over your right thigh. Snake the toes of your left foot around the back of your right calf. Alternatively, you can place your toes on the floor or a block beside your standing foot. Take a few breaths here to find your balance. It’s important to recognize that balance is a dynamic, not static, process, meaning you will experience fluctuations throughout the pose. Try not to get discouraged. Direct your drishti, or gaze, to a single point, which will help you to calm and focus your mind.

3) Goalpost your arms by lifting them to shoulder height and flexing your elbows to a 90-degree bend; bring your arms in front of your chest while drawing your shoulder blades away from each other. Put on your imaginary corset to tighten your core. Keep your gaze and breath steady and relaxed

4) Cross your left arm underneath the right, and then wind the right forearm around the left. Bring your palms together, with your fingers pointing up. Keep your torso upright and shoulders in line with your hips. Re-engage your shoulder blades by broadening across your chest.
5) To deepen the posture, try lifting your arms up toward the sky while maintaining integrity in your shoulders and core. You shouldn’t feel as though your shoulders are crowding your neck or that your low ribs are lifting away from the front of your pelvis. Play with sitting deeper into the squat, being mindful to maintain the tripod effect in the standing foot and a neutral curve in the lumbar spine. Stay for 5 to 10 breaths before returning to Mountain Pose; repeat the posture on the other side.
Stay safe
To avoid injury in Eagle Pose, maintain a keen awareness of the integrity of your core. If at any time you feel as though you cannot engage your core muscles, back off until you can feel the equilibrium between expansion and contraction. Trying to sit too low may cause the top of your pelvis to tip forward and your low back to over arch. You’ll know you’ve gone too far if you feel a compression or pinching in your low back, or if your belly is expanding, breaking out of that imaginary corset. As with all standing poses, your feet are your foundation. If you feel the weight start to deviate too far forward or backward from the tripod sensation, back out until you regain your base stability.
Written by Robyn Capobianco
This article was first published in Yoga Journal Singapore, which is now Yogahood Online.