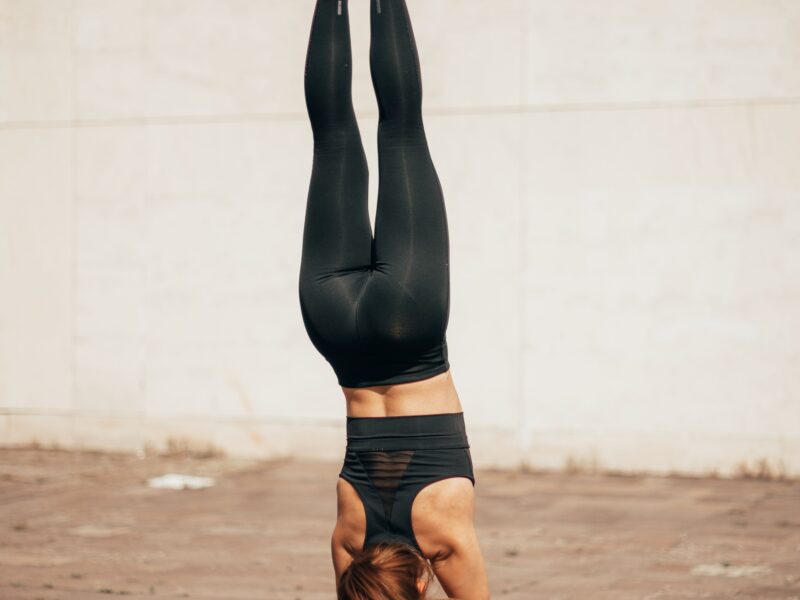
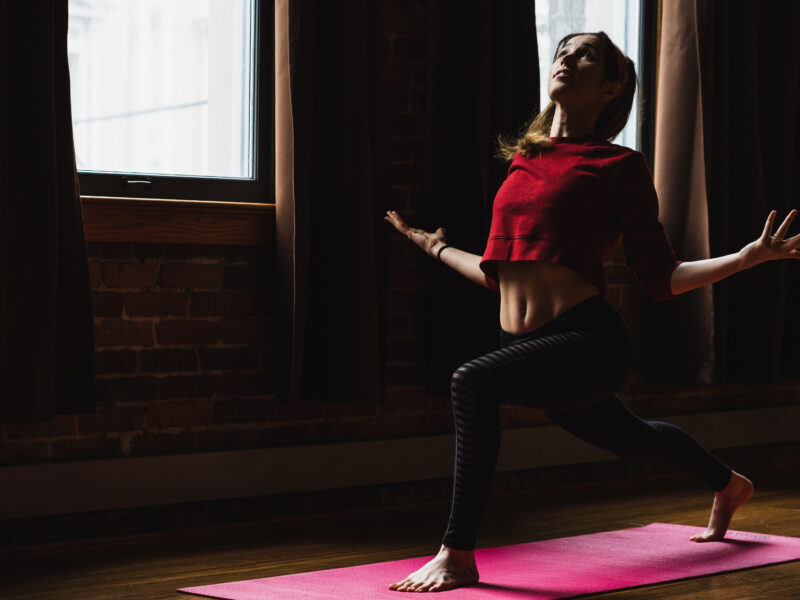
Although a typical man might spend more time sitting at a desk, playing sports, or building muscles at the gym than stretching on a mat, that doesn’t mean that yoga is not for him.
When teaching her ‘Yoga for Dudes’ classes, yoga teacher Nikki Costello focuses on what tends to be challenging for her male students: getting tight muscles to lengthen without gripping, encouraging large muscle groups to move freely and fluidly, and learning to use strength in a balanced, integrated way in each pose.
Instructions – Nikki Costello: Writer – Andrew Tilin: Model – Copper Crow
Here are six easy poses recommended by Nikki for every guy:
1. Eka Pada Pavanamuktasana: One-Legged Wind-Relieving Pose

Lie flat on your back and stretch both legs along the floor with the toes pointing up. Bend the left leg, bringing the knee to the chest, and hold the shin with the hands. Think about relaxing and softening the bent leg while giving equal attention to engaging and firming the extended leg. Stay for 3 to 5 breaths. Return to the starting position and change legs, repeating the pose twice more on each side.
Benefits: This pose is a simple, familiar way to begin stretching. It releases tension and gripping in the buttocks, and it broadens and relieves tightness in the lower back.
2. Supta Padangusthasana: Reclining Hand-to Big-Toe Pose

On your back, bend the left leg toward the chest. Place a belt around the left foot and stretch the left leg upward until it is perpendicular to the floor. Hold the belt in both hands and bend the elbows to the sides until the backs of the upper arms rest on the floor at shoulder height. Broaden the chest and keep both legs fully stretched and the knees firm. Stay for 3 to 5 breaths.
Hold the belt in the left hand. While keeping the right leg steady, exhale and move the left arm and leg to the left until the leg comes to the floor. Stay for 2 to 3 breaths. Inhale, bring the left leg perpendicular to the floor; then release the belt and lower the leg. Repeat the sequence with the right leg.
Benefits: Lying on the back makes a challenging stretch more approachable. A belt extends your reach so that you can get the leg to fully extend without straining, which is key to releasing the hamstrings.
3. Utthita Trikonasana: Extended Triangle Pose

Stand at the top of your mat. Exhale and jump your feet as wide as your outstretched arms. Turn the right leg and foot to the right and bring the left foot slightly in. Exhale and move the hips and legs to the left as you extend the torso to the right. Place the right hand on the floor or on your shin. Place the left hand on the waist.
Re-establish your balance: Lift and spread your toes. Lift the arches, knees, and thighs, and press down through the heels. On an inhalation, lengthen the trunk and exhale to turn the chest upward. Extend the left arm up. Broaden the collarbones and stay for 2 to 3 breaths. Inhale to come up. Repeat on the left side.
Benefits: Attention to the alignment in standing poses stretches the legs and builds a strong, balanced foundation. Doing the poses in quick succession in coordination with the breath-exhaling as you come into a pose and inhaling to come out-encourages fluid, rhythmic motion.
4. Utthita Parsvakonasana: Extended Side Angle Pose

With the feet wide, exhale and bend the right leg until the thigh is parallel to the floor and makes a 90-degree angle with the shin. Place the right fingertips on the floor next to the right foot. Lift the arches and press the heels into the floor. On an exhalation, extend the left arm over the left ear. Stay for 2 to 3 breaths. Inhale as you use the left arm to lift up, and straighten the right leg. Repeat on the left side.
Benefits: This helps to balance your legs, make you feel grounded and increase strength in your muscles. Once you feel comfortable with the shape of the standing poses, repeat them several times, moving from side to side while paying special attention to inhaling and exhaling as you reach your hand to the floor on steady, balanced legs.
5. Setu Bandha Sarvangasana: Bridge Pose

Lie on your back and bend the knees, bringing the heels toward the buttocks. Hold the sides of your mat and tuck the outer shoulders in to lift the sternum and chest. Exhale and lift the hips. Raise the heels off the floor, lift the hips a little more, and tuck the shoulders farther in. Keep the hips high and lower the heels to the floor. Draw your shins toward the chest while pressing down through the heels. Repeat 3 to 5 times.
Benefits: Strengthen the back muscles and bring health and vitality to the spine in this pose. It will counteract the tendency to slump and sink in the chest that comes from sitting at a desk.
6. Marichyasana III

Sit on the edge of two blankets, legs extended. Bend the right knee and place the foot on the floor. With the right hand on the floor, extend the left arm up to lift the spine. Exhale as you turn to the right, and hold the knee with the left hand. Move the right hand behind the buttocks. With each inhalation, lift the spine. With each exhalation, turn a little farther, starting with the abdomen and moving to the ribs, chest, shoulders, and head. Take 5-8 breaths to complete the twist. Release on an inhalation. Repeat on the other side.
Benefits: Twisting releases residual tension in the lower back or spine, tones the abdominal muscles and internal organs, and quiets the mind and prepares the body for final relaxation in Savasana.
This article was first published in the print edition of Yoga Journal Singapore, which is now Yogahood Online.
