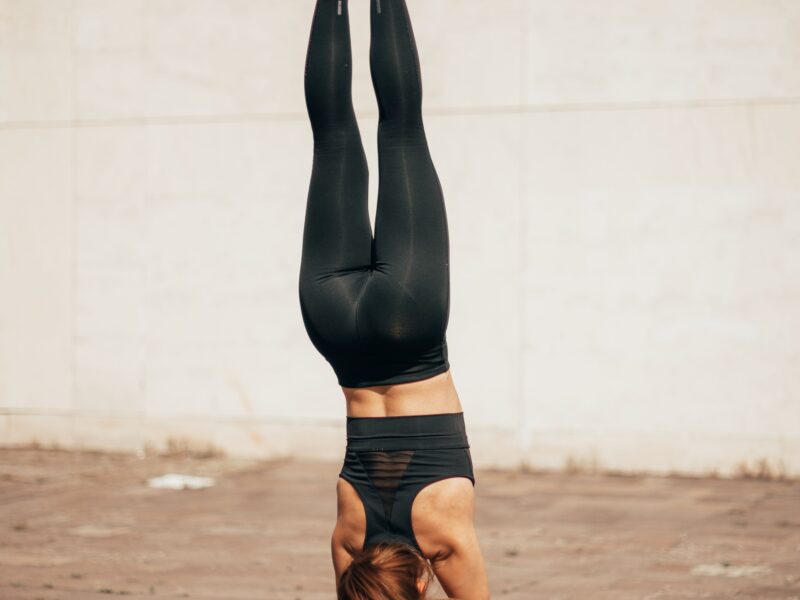
All too often when we move into a yoga pose, we prioritize getting the shape right over creating that shape safely. Twists are a prime example of this. Think about the last time you did Parivrtta Utkatasana (Revolved Chair Pose). Did you move into the posture with the primary goal of going “deep” into the twist, without first considering which muscles you’d need to engage so you could rotate safely? If you answered “yes,” that might be one reason you experience low-back pain in twists.
Written by Ray Long,M.D
It doesn’t help that many of us are primed for low-back pain in general. For starters, as we age, it’s estimated that a whopping 9o percent of Americans develop degenerative disk disease, a condition in which the inter vertebral disks dry out and lose height. This can lead to stiffness and low back pain, which tend to worsen over time. Then, there’s the fact that somewhere around 4o to 75 percent of the population has some type of asymptomatic (painless) herniated disk. These disk deficiencies limit the spine’s mobility, which can make twisting—a movement that demands both agility and spinal flexibility—potentially more painful.
However, when done properly, twists have the potential to help your low back feel great. Twisting can activate the muscles around the lumbar spine and abdominal core, increasing stability as well as blood flow and oxygenation to the area. Twisting also appears to increase hydration of the inter-vertebral disks, which may help to counteract the changes caused by degenerative disk disease.
Before you twist
Before you ever even rotate, the first step is learning how to stabilize your core by engaging the muscles surrounding the lumbar spine. Step two involves not twisting too deeply—at least until this stabilization work has become second nature. If you already suffer from low-back pain, this work is especially important: Research shows that those with low-back pain tend to lack the ability to engage the muscles surrounding the lumbar spine and also have weak core muscles. The good news? Do the work I describe here and there’s a good chance you’ll not only stay pain-free as you twist, but you may also have less low-back pain off the yoga mat.
To stabilize anything in the body, you must contract muscles. In this case, you want to focus on the muscles surrounding the lumbar spine. These include the psoas, quadratus lumborum (QL), and gluteal muscles, all of which are connected to the fascia that surrounds the spine. Also crucial: contracting the transversus abdominis (TA) muscle, which creates the “corset” that starts in the front body, wraps around the torso on both sides, and then attaches to the thoracolumbar fascia—the tri-layered connective tissue enclosing muscles associated with the thoracic and lumbar spine. The abdominal oblique muscles, which run along both side bodies and rotate your trunk, also attach to this fascial structure.
The thoracolumbar fascia is one of the most important fascia in the body. This is because it’s responsible for load transfer from the shoulder girdle to the pelvic girdle and is also a key player in maintaining the integrity of the sacroiliac (SI) joint—the spot at the base of the spine where the sacrum joins the ilium bones of the pelvis. Interestingly, tightening the TA and thoracolumbar fascia increases the pressure inside your abdominal compartment, causing your abdominal organs to press against your lumbar spine to stabilize it even more. (Pregnant women and those with hernias or diastasis recti—in which the abdominal muscles widen away from rather than stay knitted to each other—should check with their doctor before working with twists.)
Engaging these muscles is important because the spine isn’t designed to excessively rotate or flex. In fact, that’s why it has facet joints: cartilagelined joints that run along its length and between which nerves exit the spinal cord en route to other parts of the body. These facet joints protect against excessive rotation and flexion by limiting the motion of the spine; if you twist your spine without stabilizing first, you not only risk irritating the disks but also the facet joints, leading to further pain.
Smart cues
To begin a twist, I like to cue my students to turn “on” their TA—also known as activating Uddiyana Bandha (Upward Abdominal Lock)— because this action should happen before any kind of twist. To do this, imagine drawing the point two inches above your navel in toward your lumbar spine. This should tighten the TA, which in turn tightens the all-important thoracolumbar fascia to keep your back safe.
Next, let’s look at how to use the psoas, QL, glutes, and hamstrings to create stability in the seated twist Marichyasana III. To begin, sit on your mat with your right knee bent and your left leg extended in front of you; start to twist the left side of your torso toward your right thigh, with your left elbow moving toward the outside of your right knee and your right hand on the floor behind you. Rather than coming fully into the posture, gently wrap your left forearm around your right knee and squeeze your torso against your thigh, and your thigh against your torso. Do this from the hip and trunk (not just squeezing with the arm). This action turns “on” the psoas, a trunk flexor, which stabilizes the spine. Next, squeeze your right calf against your right thigh to activate the hamstrings. At the same time, activate Uddiyana Bandha to stabilize your core. Contract the gluteus maximus on the left (straight) leg by pressing your heel into the mat. Feel how these various actions stabilize your pelvis.
It’s only after doing this muscular stabilization that you’re ready to go deeper into Marichyasana III. To do so, press the ball of your right foot firmly into the mat, fixing it in place, as you attempt to rotate the foot away from the mid line, encouraging an isometric contraction of your outer hamstrings. Then, activate your abdominal external obliques by tightening them, and twist, allowing your spine to follow. What you’ll find is that now you’re turning your spine from your core; in essence, you’re both stabilizing and twisting at the same time. It’s only when this stabilization work is combined with effort in yoga that you’ll be able to maintain your practice and enable it to serve you for many years to come.
3 poses to relieve low-back pain in twists
Sphinx Pose
 Practicing chest openers, such as Sphinx Pose, before you twist is a nice way to expand the chest—a key action while twisting, too. Lie on your belly, legs side by side, and contract your glutes. Roll your outer thighs toward the floor to internally rotate your femurs, helping to broaden and lengthen your lower back and sacrum to protect them in this backbend. Set your elbows under your shoulders, and your forearms on the floor parallel to each other. Inhale and lift your upper torso and head away from the floor into a mild backbend. Stay here for 3–5 deep breaths, then find your way to Adho Mukha Svanasana (Downward-Facing Dog Pose).
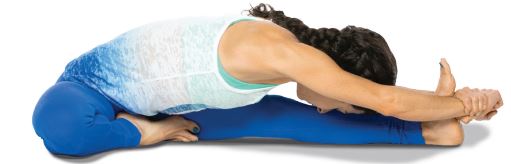
Paschimottanasana (Seated Forward Bend)

To release any tension created in a twist, I like to follow up with a pose in which the spine is symmetrical. Forward folds—such as Uttanasana (Standing Forward Bend) or Paschimottanasana—are great choices. For the latter, sit on the floor or a folded blanket with your legs extended in front of you. Press actively through your heels and slightly turn in the tops of your thighs, pressing them down into the floor. As you inhale, lengthen your front torso; as you exhale, lean forward from your hip joints and lengthen your tailbone away from the back of your pelvis to fold over your legs. Stay in the posture for 5–10 deep, easy breaths.
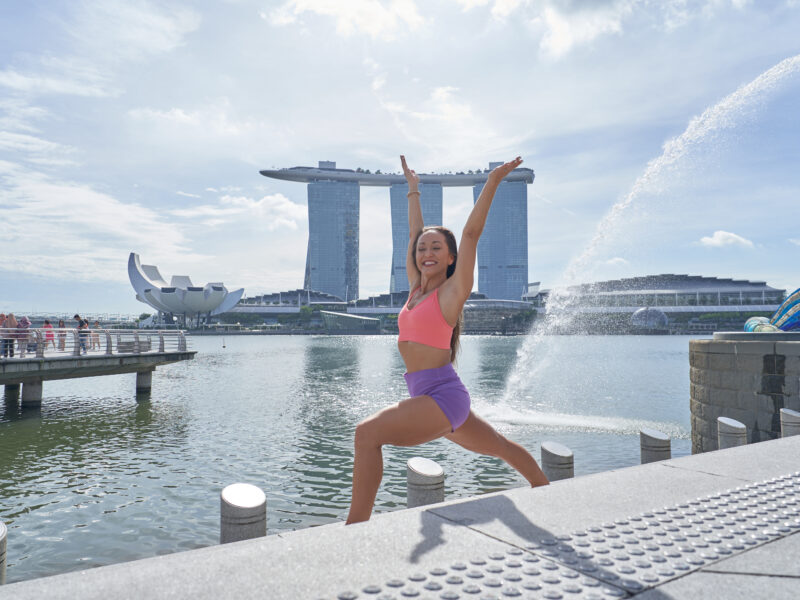
Parivrtta Trikonasana (Revolved Triangle Pose)

From Mountain Pose, step your feet about 4 feet apart and turn your right foot out to 45–60 degrees, with your left foot facing forward. Bend your left knee and on an inhale, raise your arms overhead; on an exhale, turn your torso to the left, encouraging your pelvis toward the front edge of the mat. Now lean forward over your front leg, reaching your right hand down either to the floor (inside or outside the left foot) or a block; bring your left hand skyward. With your front knee still bent, squeeze your torso against your thigh. Hold this shape, and then gradually engage your quads to straighten your front leg (shown). Draw your hips away from your shoulders to lengthen your spine. Stay here for 5 deep breaths, and then switch sides.
This article was first published in the print edition of Yoga Journal Singapore, which is now Yogahood Online.